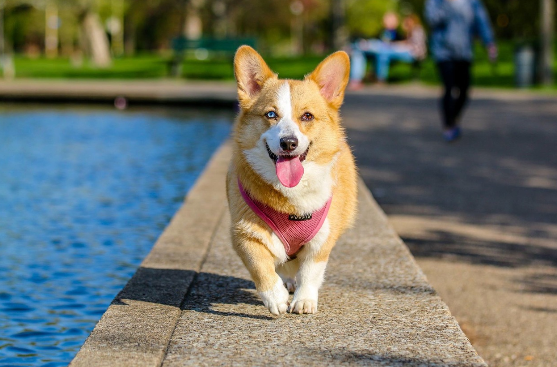
It is quite easy to create a custom portrait of your pet. Although freehand drawing can be intimidating to some people, you should try it if you want to immortalize your pet. The supplies that you require for this task include a printer, digital photo of your pet, art paper, soft art pencil, acrylic craft paint, paintbrush, and a paint palette.

You may want to immortalize your pet by himself or include a picture of yourself on your wedding day.
Follow these steps to create a painted portrait of your pet:
Paint the BackGround
Choose a good color to paint the background. Since the final painting will be a solid color plus highlights and shadows, you need to select a color that looks good hanging on your wall and contrasts well with black. Once you choose a color, paint the whole background on the art paper. As it dries, you should move on to the other step.
Edit and Print the Photo
The trickiest part of this project is editing the photo. Your goal should be to have a picture of your pet, which has a very high contrast with strong shadows and is still easily identifiable. Using a software-editing program such as Microsoft Office Picture Manager, edit your photo by following these steps:
Crop – start by cropping the photo so that your pet takes up the entire photograph
Convert – change the picture to black and white
Contrast – increase the contrast of the picture
Adjust – alter the brightness, midtones, and highlights to ensure to ensure that the photo is primarily black and white with no shades of gray.
Flip photo – flip the photograph horizontally to create a mirror image
Print – print the picture
Darken the outline- using an art pencil; darken the outline of the picture while watching the eyes to avoid losing too many details.
Outline and Transfer the Photo
Outline the dominant shadows of the photo using an art pencil. Make sure that you include the dominant aspects of your pet’s features – these parameters will be filled with black paint. The ears, eyes, and wrinkled foreheads should be very detailed. Once you create the outline, place it face down on the painted art paper and transfer the outline.
As you hold the photo firmly, use the blunt end of your paintbrush to rub against the back part of the page. Doing so will rub the soft graphite onto the paint, leaving a sketch to paint over.
Since you printed a mirror image of the photo, the image will appear correctly on the painted art paper.
Paint your Pet
First, you should use a marker or pen to draw over the pencil lines and emphasize the parameters. After this, you should color the lines and use black paint to bring life to the outline. When you do this, your pet portrait will almost be complete.
Final Touches
After finishing the above steps, you can add some optional final touches to make the portrait look better. For instance, you can use white to make the eyes more visible. You can also add color to the irises; if your cat has blue eyes, you can add this detail to the painting.
As you wait for the painting to dry, you should clean up the palette and brushes. Nothing ruins a brush like dried paint. Once the painting dries up, you should sign it to put your own unique patent on it. If you have enough supplies left over, you should consider making a portrait for your friends.
According to Instapainting.com, if you want to immortalize your pet but do not have the time to paint a portrait yourself, you should consider hiring experts. When you do that, you will get a high quality portrait.


